Home Decorating Tips

Home Decorating Tips
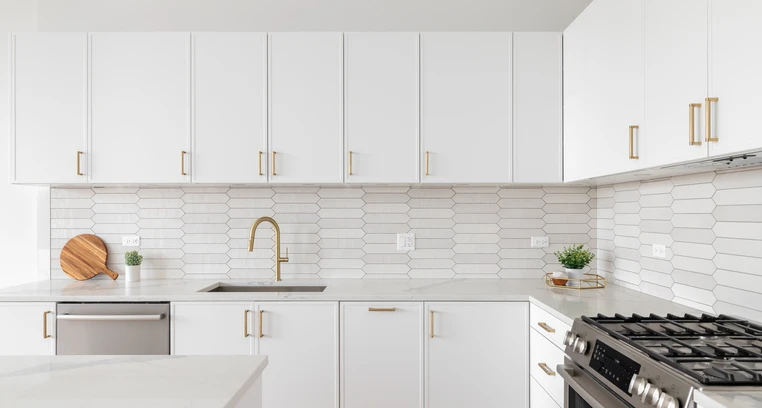
A Beginner’s Guide to Installing a Tile Backsplash
Posted on January 29, 2026
Last updated January 29, 2026
Looking to make your kitchen more inviting and stylish without breaking the bank on a full renovation? A tile backsplash is one of the easiest and most affordable ways to transform your space instantly. It adds personality, protects your walls from splashes, and gives your kitchen a fresh, polished look, all without the hassles or high cost of major construction.
Whether you’re a total DIY newbie or just want to save on labor fees, here’s a read that will help make your kitchen more functional! Follow this step by step guide on installing a kitchen backsplash.
What is a Tile Backsplash?
Before going into the installation steps, it is worth understanding what a backsplash is. A backsplash is a protective surface installed on the wall behind sinks, countertops, or stoves in kitchens and bathrooms. Its main purpose is to protect the wall from water splashes, stains, grease, and food spills.
Besides being practical, backsplashes also add style and personality to a space. They come in many materials, such as tile, glass, metal, or stone, and can be designed to match or complement the overall look of your kitchen or bathroom.
What You Will Need in Installing a Backsplash
To get started, gather these essential tools and materials:
- Tiles of your choice (ceramic, porcelain, glass, or natural stone)
- Tile adhesive or thinset mortar
- Notched trowel
- Tile spacers
- Tile cutter or wet saw
- Level
- Measuring tape
- Pencil or chalk
- Grout (choose a color that complements your tiles)
- Grout float
- Sponge
- Bucket of water
- Painter’s tape
- Safety goggles and gloves
Ready to roll up your sleeves? Here’s how to install your backsplash.
Step 1: Prepare Your Wall
Start by cleaning the wall area where you plan to install the backsplash. Remove any grease, dirt, or debris to ensure proper adhesion. If the wall is painted, lightly sanding it will help the tile adhesive bond better.
Next, measure the area to determine how many tiles you will need. Add about 10 to 15 percent extra to cover cuts and potential breakage.
Step 2: Plan Your Layout
Planning your tile layout is key to achieving a professional look. Use a pencil and level to draw guidelines on the wall. Start from the center of your area and work outwards to keep the design balanced.
Dry-fit a row of tiles along your guidelines without adhesive to see how they fit. This helps you visualize spacing. Moreover, it avoids having tiny pieces of tile at the edges, which can look uneven.
Step 3: Apply Tile Adhesive
Using a trowel, spread tile adhesive onto a small section of the wall. Work in manageable sections to prevent the adhesive from drying out before you apply tiles. Hold the trowel at a 45-degree angle to create grooves or ridges in the adhesive—these grooves help the tiles grip firmly and ensure long-lasting results.
If you are looking for a reliable tile adhesive, you can try Island Equip Tile Adhesive. It provides a smooth and durable bond, ideal for both floor and wall installations. Moreover, it helps tiles stay securely in place even with daily wear and humidity.
Step 4: Install the Tiles
Press the tiles firmly onto the adhesive, following your layout lines. Use tile spacers between each tile to ensure even gaps for grout. Periodically check your work with a level to keep tiles aligned.
Cut tiles as needed for edges, corners, or around outlets using a tile cutter or wet saw. Take safety precautions when cutting tiles, including wearing goggles and gloves.
Step 5: Let the Adhesive Set
After all tiles are installed, allow the adhesive to dry as per the manufacturer’s instructions, usually 24 hours. Avoid disturbing the tiles during this time.
Step 6: Apply Grout
Grout is a paste-like material used to fill the gaps between tiles after they’re installed. Once it dries, it hardens and holds the tiles in place while sealing the joints from moisture and dirt.
So, how do you put grout in your tiles? Once the adhesive is set, remove tile spacers and mix your grout according to package directions. Using a grout float, spread grout diagonally across the tiles to fill the gaps. Work in small sections, pressing the grout firmly into the spaces. Wipe off excess grout from the tile surfaces with a damp sponge, rinsing it frequently. Be careful not to remove grout from the joints.
Optional Tip: For a clean, seamless look, choose a grout color that closely matches your tiles. This helps your finishes look more cohesive. Plus, it allows the tile design, not the grout lines, to stand out.
Step 7: Final Cleanup and Sealing
After the grout has dried, usually after 24 hours, polish the tile surfaces with a soft cloth to remove any remaining grout markings.
If you are using natural stone tiles or grout that requires sealing, apply a sealer to protect against stains and moisture. Follow product instructions for best results.
Consider Island Premium Paints
Creating a stunning backsplash may seem challenging, especially if you’re just starting out. And that’s exactly why having the right materials makes all the difference. From tile adhesive to the perfect wall color, quality tools and finishes can turn a basic project into a beautiful, lasting upgrade.
Luckily, with Island Premium Paints, there is no need for you to search in different places. Island Premium Paints has everything you need to help make your backsplash project a success.
Explore smart solutions and inspiring finishes at Island Premium Paints.
References:
https://www.housebeautiful.com/room-decorating/kitchens/g1412/kitchen-backsplash-ideas
https://fasadeideas.com/backsplash/backsplash-installation
Related Articles
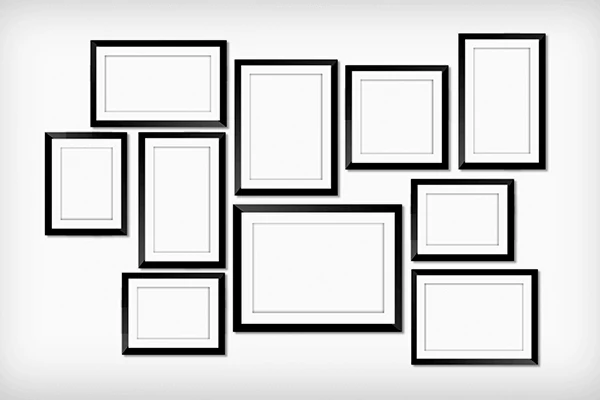
Tips for Creating a Gallery Wall
A well thought out gallery wall can make a big difference when figuring out any room’s interior design, from your living room ...
READ MORE

Indoor Recycling Tips for Home Improvement
With global pollution steadily worsening, a call for better recycling methods is of utmost importance. The best way to start the promotion of ...
READ MORE
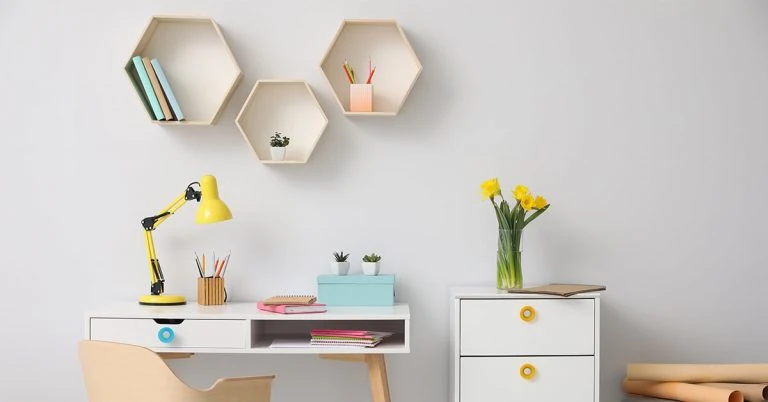
Quick Tricks for Organizing your Work Desk
With most of us working from home, our home office desks have become the place where the proverbial magic happens. And since ...
READ MORE
Our Products
Our line of high quality paints and products will give your home or project the vibrancy it needs.
Explore Colors
Ready to explore colorful possibiliies today? View our popular paint colo combination palettes for great color schemes and room design ideas for interior and exteriors.