cart0

Home Decorating Tips

Person holding swatches of rough textured walls

Home Decorating Tips

Texture Trendsetter: 5 Ways to Rock a Rough Wall Look

Posted on October 11, 2024

Are you currently renovating your home or space, and feel like your walls need some character? You may find the answer to this dilemma in rough finish walls or textured walls that can come in neutral colors or even brighter hues.

Only working on the outside walls? No problem — a rough or textured exterior wall finish can do the trick and make your home stand out. 

A rough wall finish involves the application of textured material like sand, stucco, concrete, or a combination of other items onto the walls. Some industry experts recommend these types of walls to help hide or disguise imperfections that may appear during construction. Examples of said “imperfections” include uneven walls or seams in drywall. 

For some industry experts, rough wall finishes may also be a good choice if you are looking to build a space with a rustic or earthy vibe to it. 

Intrigued by the look and feel of a rough finish wall for your next project? Learn more about the different types of rough or textured finishes for your walls and how to rock them. 

Take Note of These Rough and Textured Wall Ideas

If there is one thing you should know about “rough walls” or “textured walls,” these are umbrella terms for different designs that have been used for quite some time! Some of the most popular include:

  1. Orange Peel

This type of rough wall finish bears a striking resemblance to the rind of a popular citrus fruit and a popular choice among construction and building experts. An orange peel finish is an understated design that is affordable, helps hide blemishes on the walls, and is easy to apply and maintain.

In some cases, you may not even know that the wall has an orange peel finish until you closely inspect the wall.  

  1. Popcorn

Popcorn textured walls were originally used for ceilings, hence their other nickname “acoustic ceilings.” This type of textured wall finish has the ability to dampen sound and hide imperfections that may be visible on the walls.

However, there are also some drawbacks linked to popcorn textured walls. For instance, painting these walls can be time-consuming and not-so-beginner-friendly. Plus, the walls even accumulate dirt over time as time passes, highlighting the need to clean the surface every once in a while. 

  1. Knockdown  

This is a great choice if you’re looking for a textured wall that is more subtle yet still offers some character to a room. Knockdown textured walls are recognizable by their flattened peaks that are created on the last step of the product’s application.

  1. Slap Brush Texture

This type of wall finish also goes by the names “stomp brush,” “crow’s foot,” or “stipple ceiling.” Slap brush texture is accomplished using a brush, with the end result being an eye-catching and “dynamic” design.

Walls with this particular type of finish are often characterized by fan-shaped imprints on the walls due to heavy use of brush bristles. For some industry experts, slap brush texture walls are ideal for accent walls or any area that requires depth or additional focal interest. 

  1. Comb

If you are looking for a rough wall finish on the simpler side, this is your best bet. A comb wall texture is not just stylish, but can also be personalized to suit your space’s feel and aesthetic. This type of rough wall finish is characterized by a repeated series of patterns on the walls. What’s unique about comb wall finish is its tendency to be fixed right away if you make a mistake.

How Do You Finish a Rough Wall?

The answer to this question actually depends on the rough or textured wall you are going for. Since rough and textured walls look different, expect the process of creating them to be different too. However, there are key steps in the process of creating rough finish walls that apply to almost all of the different textures involved. Make sure to:

  1. Clean your walls properly: Remove dirt, dust, and other debris from the surfaces you are working on which can negatively impact the end result of your project.   
  2. Apply a wall primer: Follow package instructions when doing so. This helps ensure that your wall has a smooth finish and is ready for whatever products that will be applied on the surface. 
  3. Be ready with drywall or patching compound: Many industry experts recommend using drywall or patching compound when making textured walls. Before creating any of these textured wall finishes, make sure to combine water and the drywall or patching compound first, following package instructions of course.  

Once you are done with these steps, you can now use certain tools to get the desired rough wall texture and finish you like:

  • Orange peel: Apply a layer of the patching compound, let dry, and sand it down with sandpaper to smoothen it and remove dirt that may have accumulated on the surface. Once the wall is smooth and clean, use an air compressor and a spray gun to apply another layer of the drywall mud or compound. Afterward, run a thick roller onto the surface to create that bumpy texture. 
  • Popcorn: Use a compressor and a texture sprayer to apply the water and compound mixture onto the wall. Afterward, you can use a special roller brush to create the texture that this wall is known for.
  • Knockdown: Start by applying the water and compound mixture onto the wall. Then, use a trowel or a roller to flatten the bumps that might have appeared to create the texture that knockdown is most known for. 
  • Slap brush texture: Use a roller brush to apply the water and compound mixture. Take a thick slap brush with long bristles and slap more of the compound randomly or in a pattern of your choosing. When creating a slap brush texture, you can change the thickness of your drywall mixture, brush size, shape, and “slapping” technique. 
  • Comb: Apply the mix onto the wall. While the mixture is still wet, take a toothed trowel and make a “combed” design according to your liking.

If you have additional questions or inquiries about how to create rough and textured walls, and which finish is best for your project, feel free to contact an industry professional. You can also ask them for additional help if the finish you want needs to be applied with a spray gun or a compressor and you are unsure how to handle them.

Don’t think rough textured walls fit your space’s aesthetic? Not to worry — Island Paints has a range of products that can suit the needs of different types of walls. Whether you’re looking for paints, stains, or coatings for your next project, Island Paints has options that would best fit your budget and preference.    

Check out these tips and tricks on how to create eye-catching walls for your home (textured or otherwise) and learn other insights on home decorating you can apply to current and future projects!

References:

https://www.archiscene.net/residential/rough-and-smooth-finish-on-your-wall/

https://www.bhg.com/home-improvement/walls/types-of-wall-texture

https://modernize.com/homeowner-resources/other/creating-orange-peel-textured-wall

https://www.simpleshowing.com/blog/wall-texture-types

https://alldistricts.com.au/5-different-types-of-textured-paint-for-walls

https://www.architecturaldigest.com/reviews/home-improvement/different-types-of-textured-walls

https://www.thespruce.com/hide-flaws-with-stipple-texture-4121027

https://www.bobvila.com/articles/wall-texture-types

Our Products

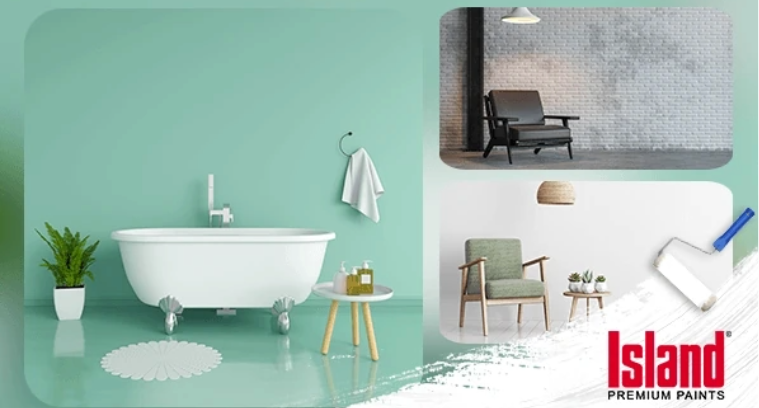
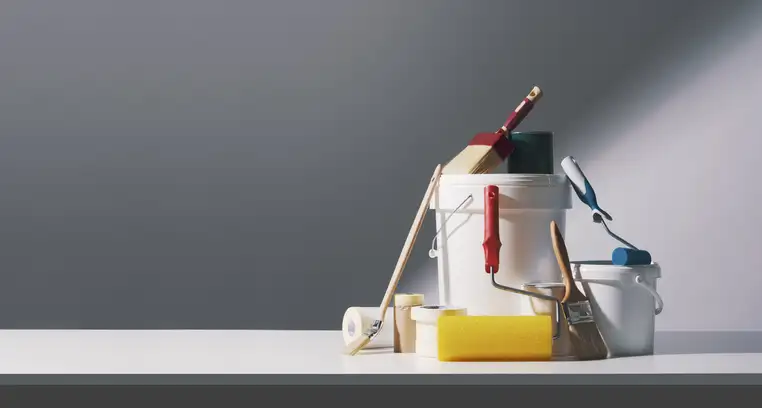
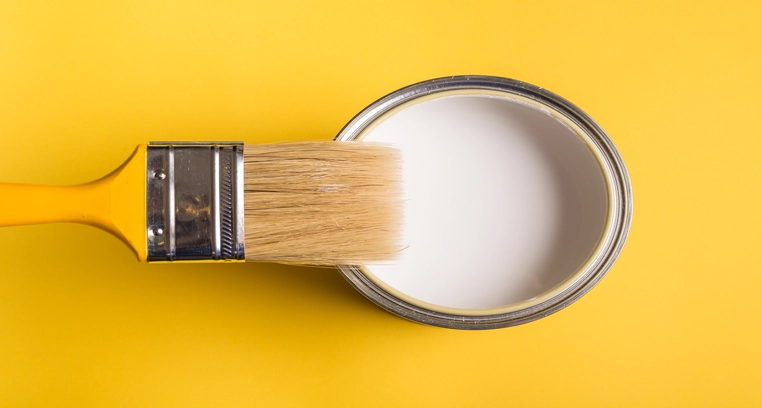
Our line of high quality paints and products will give your home or project the vibrancy it needs.

Explore Colors

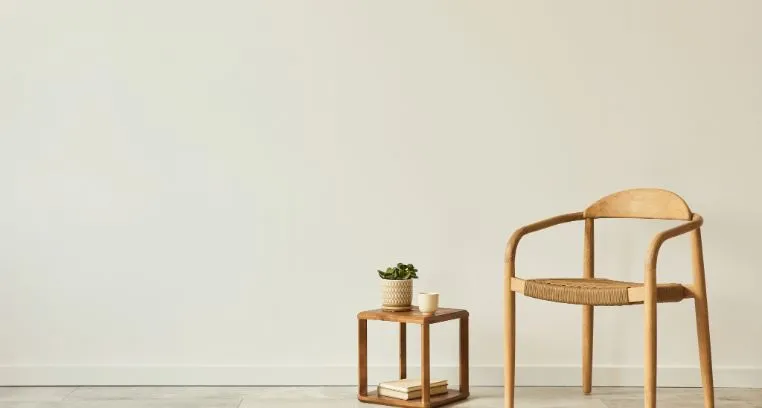
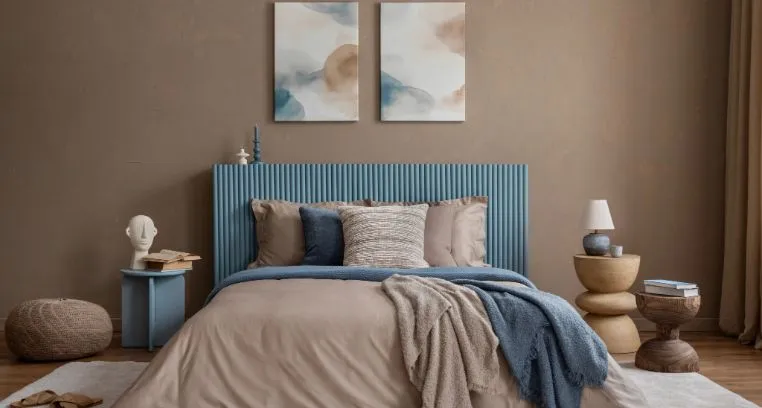
Ready to explore colorful possibiliies today? View our popular paint colo combination palettes for great color schemes and room design ideas for interior and exteriors.

Where to Buy

Get high-quality colors and finishes for your project from authorized Island paints dealers.