Home Decorating Tips

Home Decorating Tips
Fun DIY Halloween Props to Make with Your Family This Year
Posted on January 30, 2026
Last updated February 4, 2026
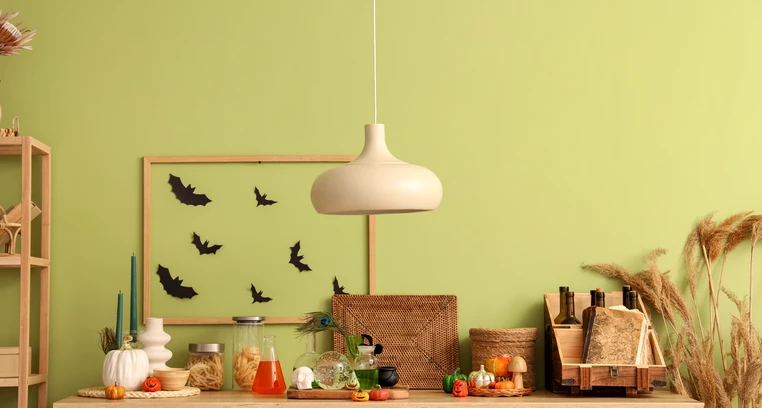
Love the thrill of celebrating Halloween festivities with family, but are spooked out because of how expensive some elaborate decorations can be? Well, don’t ghost your plans just yet, since with a little DIY magic, you can create Halloween props that can be made with materials you already have and won’t break the bank.
Here are some tips that’ll help you master the tricks of DIY Halloween decorations and treat your family to memories they’ll never forget!
- Weave a Spider’s Web of Your Own

If you’re looking for something minimalist but still sets the scene for Halloween, why not make your own spider’s web sans the dust and dirt! All you need is some colored paper you have: black, white, or any other color of the rainbow, even. To make your own spider’s web, follow these instructions:
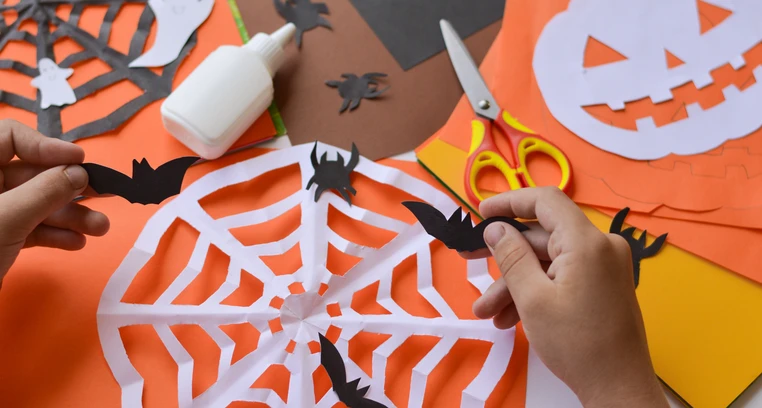
- Fold two sheets of the colored paper accordion-style. Make sure that each fold measures 1.5 inches. Fold each paper in half lengthwise.
- Cut the top of each folded paper diagonally.
- Map out three rectangles on each folded paper. Space them 1.5 inches apart on each segment and cut them to size.
- Tie the paper together tightly at the center.
- Take the loose edges of the folded papers. Use an adhesive like Island Premium Paints Apollo White Glue to attach these loose ends to the edges of the paper next to it.
- Let the glue dry first before opening up the folded paper to reveal your web.
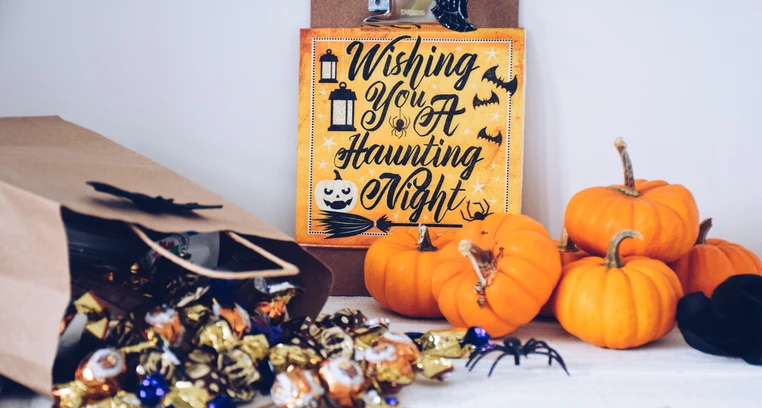
- Welcome the Season With Spooky Signs
Let your neighbors know that Halloween has descended upon your household with an eye-catching sign! You can start by buying a plain wooden sign from a hardware or craft store, or a small lightweight piece of wood that can be hung on the wall or the front door. Once you’re ready, start making your own Halloween sign by following these steps:
- If you’re working with untreated wood, sand it first until the surface is smooth. Drill holes where you’d want to attach ropes or hooks that’ll let you hang the wooden sign on the wall.
- Clean dust that may have gathered on the surface and apply one to two layers of Island Premium Paints’ Apollo Sanding Sealer. This product fills in any gaps remaining on the wood and prepares the surface for the application of other products, such as stains, paints, and varnish.
- Wait until the product is dry before applying a couple of layers of Island Premium Paints’ Natura Wood Stain. This adds another layer of color or sheen to the wood
- Wait for the paint to dry and apply a coat of Island Premium Paints’ Apollo Clear Gloss Lacquer. This creates a “final” outer layer that protects the design you’ve made and the wood itself from external and internal elements. Applying gloss lacquer helps ensure the paint on the sign doesn’t flake or the wood doesn’t rot, so you can keep using the sign for many more Halloweens to come.
As for what you’ll be putting on the sign, the choice is entirely up to you! Feel free to search for inspiration on the web and choose designs that can make a statement or capture the humor of your household.
- Set the Mood With Halloween-Inspired Lanterns
Jack-o’-Lanterns have long been associated with Halloween festivities. While it is possible to make your own Jack-o’-Lantern from scratch, the process is tedious, and it’s a bit difficult to source huge pumpkins that can be carved. However, you can still create that spooky vibe at home with Halloween-inspired lanterns made from recycled glass jars! Here’s how to do it:
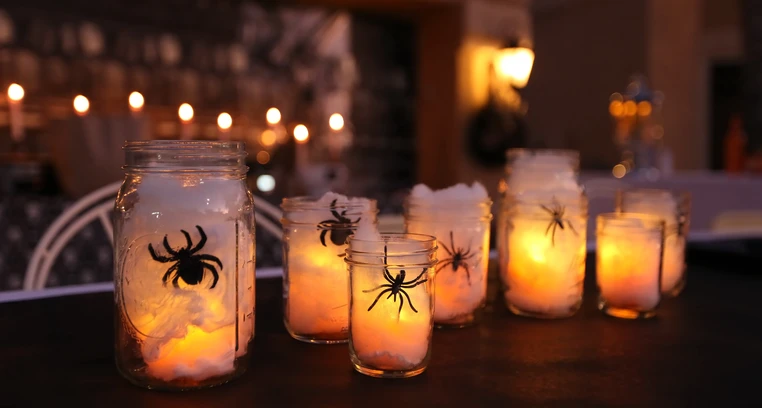
- Wash the insides of the glass jars and ensure leftover products like spreads or grounds are removed.
- Thoroughly remove the labels that are still stuck on the jar.
- Thoroughly dry the jars, especially the outside.
- Decorate the outside of the jar with ghosts, monsters, leaves, trees, or even Halloween quotes. Stick these cutouts and other materials of your chosen design onto the glass surface with the help of an adhesive like Island Premium Paints Apollo Rubber Cement. You can also place crepe or Japanese paper carefully inside the jars for that extra spooky look. If you’re unsure how to design these lanterns, inspiration is available online for you to check out.
- Once you’re satisfied with the design of the lantern, place a battery-operated tealight inside the jar and let it cast a glow.
What’s special about this DIY Halloween decoration idea is the bonding opportunity for you and your kids. Making these lanterns can help everyone’s creative juices flow, especially kids who may already be on a short break from school this time of year.
This Halloween, let shrieks of delight (and not terror) run rampant through your household. Build traditions that you and your family will eagerly await in the years to come so you can enjoy this season of spookiness.
With Island Premium Paints, you can turn your home into a haven for all things Halloween! Check out these other ways to decorate your home this Halloween and beyond.
References:
https://www.goodhousekeeping.com/holidays/halloween-ideas/g421/halloween-decorating-ideas
Related Articles
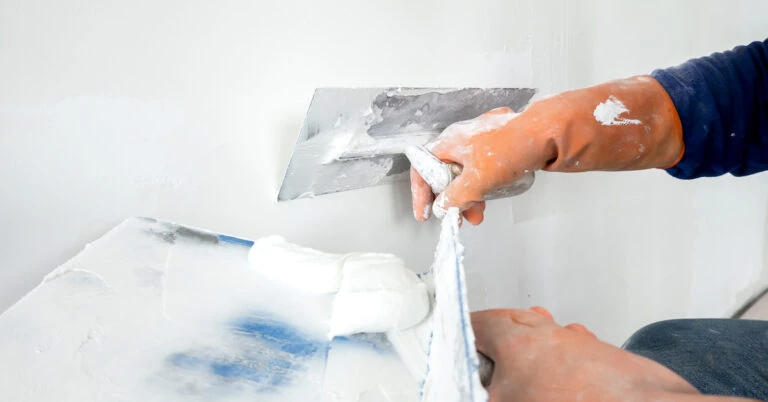
Skim Coat 101: Application Tips for Beginners
A coat or two of skim coat can make your surfaces smooth and good as new! Learn how to use this product ...
READ MORE
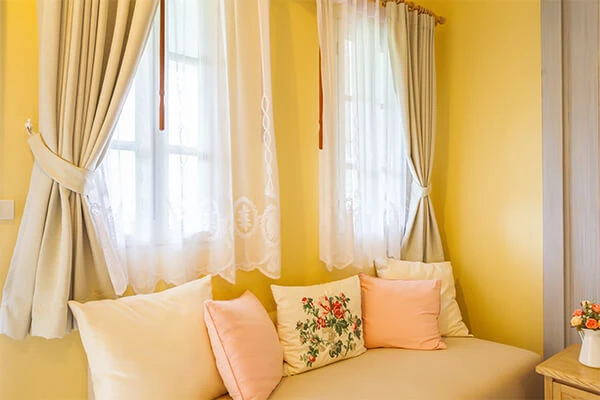
How to Wash & Clean Curtains
It’s amazing how adding curtains add character to rooms and make them come alive. But maintaining these pieces is a different story. ...
READ MORE
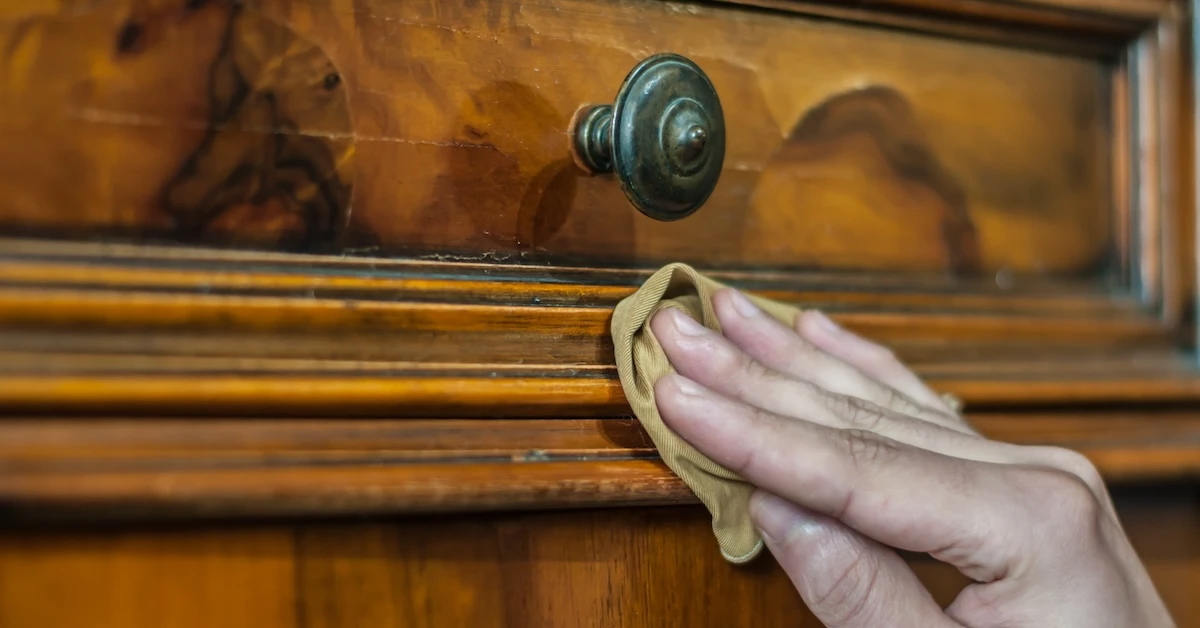
New Year, Old Treasures: Restoring Antique Wood Furniture
Embrace your inner DIY-er in 2024 by starting the year with furniture restoration! You don't need to be a pro because these ...
READ MORE
Our Products
Our line of high quality paints and products will give your home or project the vibrancy it needs.
Explore Colors
Ready to explore colorful possibiliies today? View our popular paint colo combination palettes for great color schemes and room design ideas for interior and exteriors.