Home Decorating Tips

Home Decorating Tips
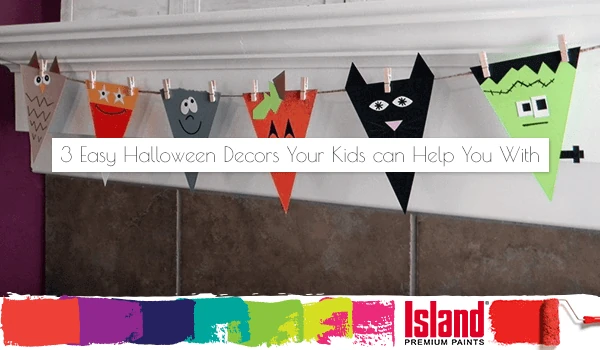
3 Easy Halloween Decors Your Kids Can Help You With
Posted on December 2, 2016
Last updated June 18, 2025
Halloween here in the Philippines may be different from that in Western countries, but it’s one of those occasions that we Filipinos look forward to. What with the festive mood, the colorful decorations, the costumes and the opportunity to dress up as whoever you want to be. A plus point, or perhaps most importantly, is that it’s another great time to bond and be creative with the kids!
Make your next Halloween more cute than spooky. Here are some sweet Halloween decorations to dress your home up, and for your kids to help you with.
CEREAL BOX MUMMIES
What You Need:
– Empty cereal boxes
– White fabric or white scratch paper
– Glue gun
– Scissors
– Googly eyes
How to:
- Tear white fabric or scratch paper into strips.
- Start wrapping the box. Add a dot of glue before applying your fabric or paper strips. Add each fabric or paper strip to the end of the previous. Make sure the box is completely wrapped.
- Once the box is wrapped, add the pair of googly eyes. Let it dry for a while and you’re good!
GARBAGE BAG SPIDERWEBS
What You Need:
– Plastic trash bags
– Scissors
– Tape
How to:
- Lay a trash bag out flat.
- Trim off the sides and bottom to get two big rectangles of plastic. Trim further into two big squares.
- Fold one of the squares in half diagonally to form a triangle. Fold the triangle in half two more times.
- Fasten the layers together on the loose side with tape, before cutting the squares or holes of the web.
- When done, unfold and do the same to the other square.
STAINED GLASS PUMPKIN
What You Need:
– Cellophane sheets in different colors
– Orange card stock paper
– Black card stock paper
– Sticky back plastic or contact paper
– Scissors
– Needle and thread
How to:
- Cut out a pumpkin outline from the orange card.
- Stick the shape on the sticky back plastic. *Alternative: you may adhere to rows and rows of clear tape for the sticky back plastic
- From black card stock paper, cut out the pumpkin’s eyes and mouth and position in the center of your pumpkin shape.
- Cut the cellophane sheets into squares, strips, and different shapes. Lay out these colorful shapes onto the sticky back plastic within the pumpkin shape. Make sure that the sticky surface is completely covered.
- Clean up the edges of your pumpkin outline.
- Use the needle and thread for hanging your pumpkin stained glass by a window or a doorway.
Check out more home improvement and decorating tips from Island Paints.
Related Articles
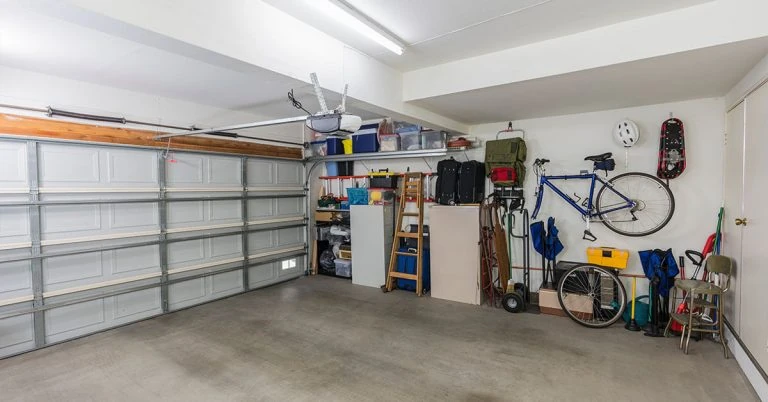
The Makings of a Good Garage Floor Coating
When we think of home makeovers, the last place we consider is the garage, least of all the garage floor. But getting ...
READ MORE
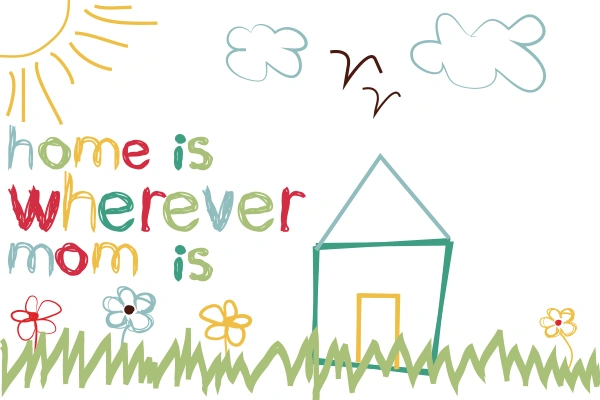
Home Improvement Ideas for Mother’s Day
Ever thought of giving your mom a home improvement gift for Mother’s Day? Now’s the perfect time to do so!
READ MORE

Tropical Country Hacks: Painting in Rainy Weather
Even with the holiday season fast approaching, rain is still a normal occurrence in tropical countries. Painting one’s home with Christmas themes ...
READ MORE
Our Products
Our line of high quality paints and products will give your home or project the vibrancy it needs.
Explore Colors
Ready to explore colorful possibiliies today? View our popular paint colo combination palettes for great color schemes and room design ideas for interior and exteriors.